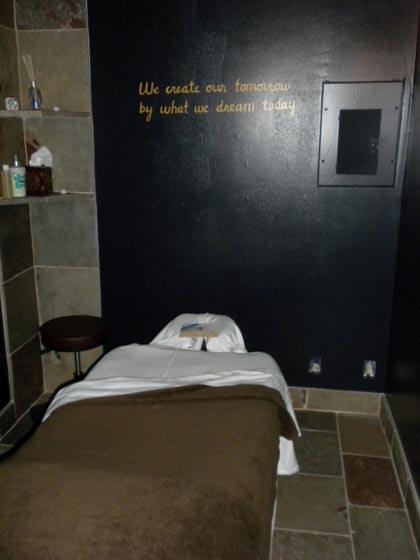
 "Make a difference, starting with you." "Make a difference, starting with you."
Serenity & Massage logo & motto.
| 
| 
|  |
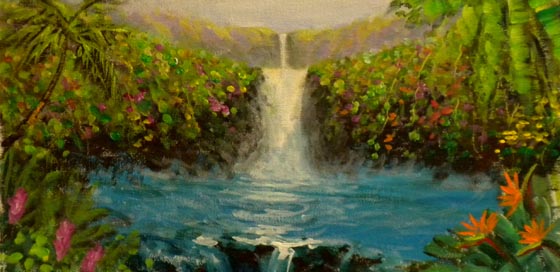
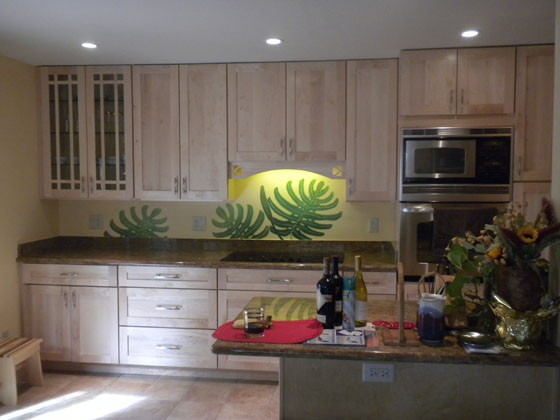 Monstera Leaves backdrop for kitchen Monstera Leaves backdrop for kitchen | 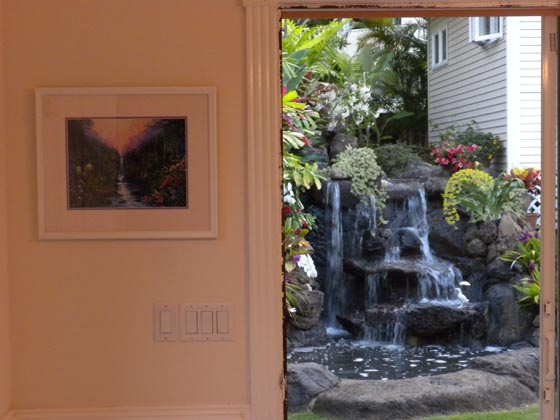 "Symphony of Color" side by side by a backyard waterfall. "Symphony of Color" side by side by a backyard waterfall. | 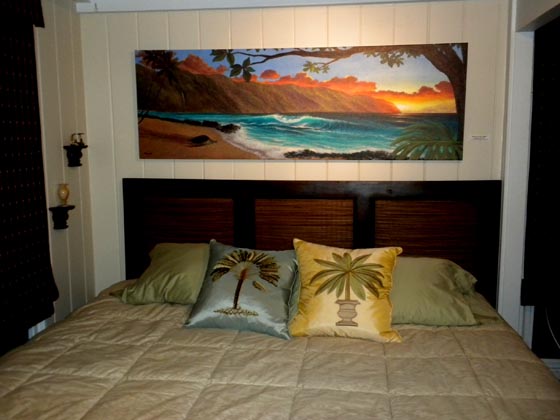
|  |
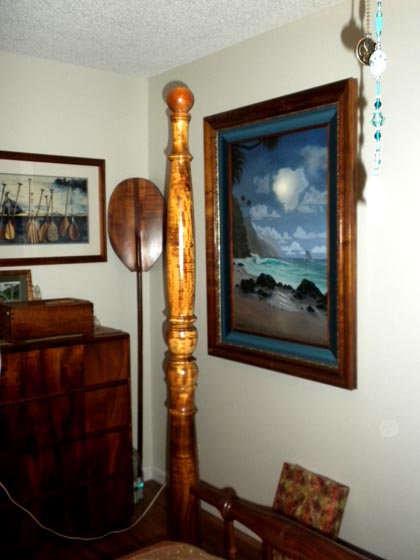
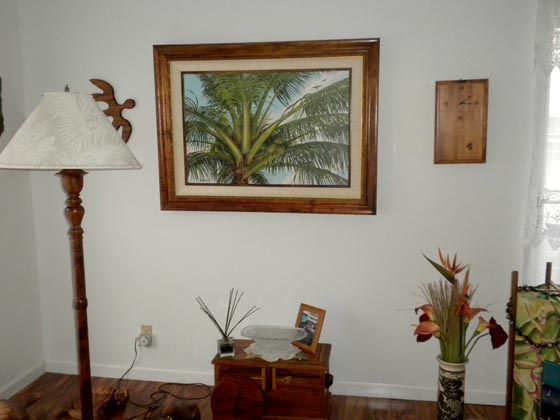 Published original "Young and Green" framed in solid Koa on display in friend's home Published original "Young and Green" framed in solid Koa on display in friend's home
| 
| 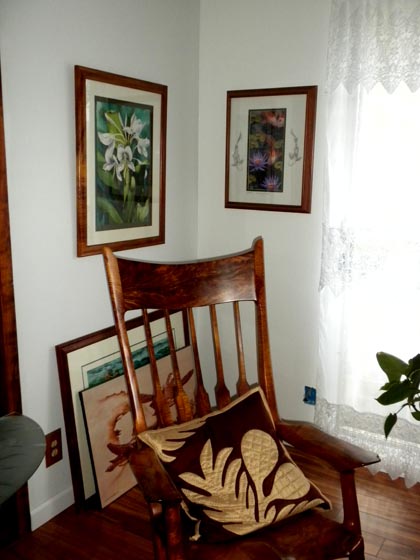 "Gathering of Hearts" in the right corner. "Gathering of Hearts" in the right corner. | 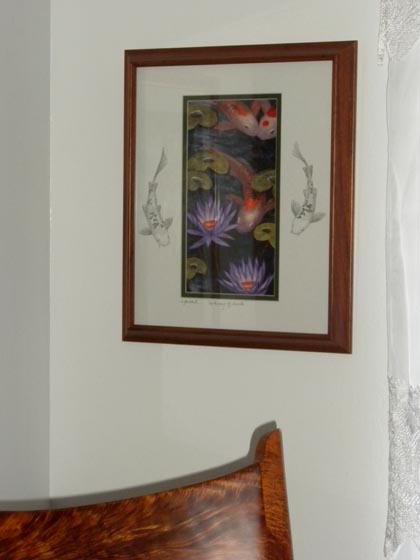 |
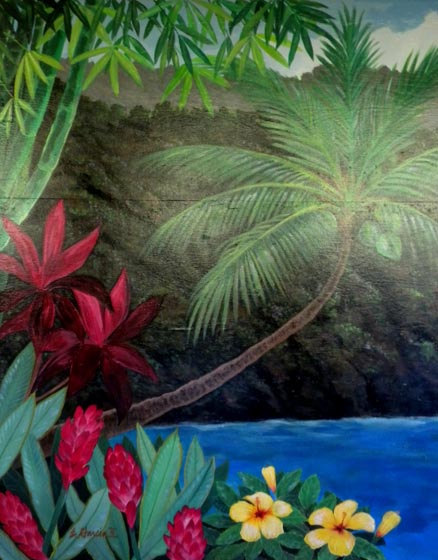 Banjy's mural detail Banjy's mural detail
| 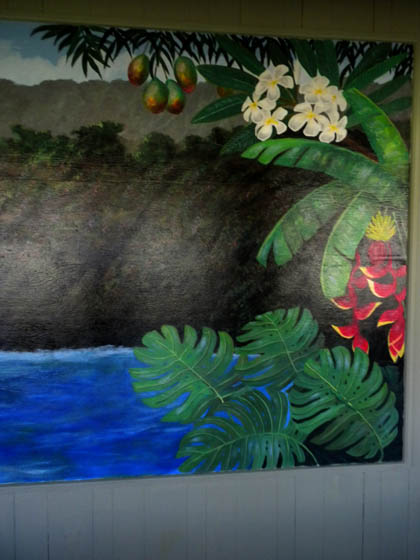 detail detail
|  study of Banjy's Paradise Bar & Grill mural study of Banjy's Paradise Bar & Grill mural
|  |
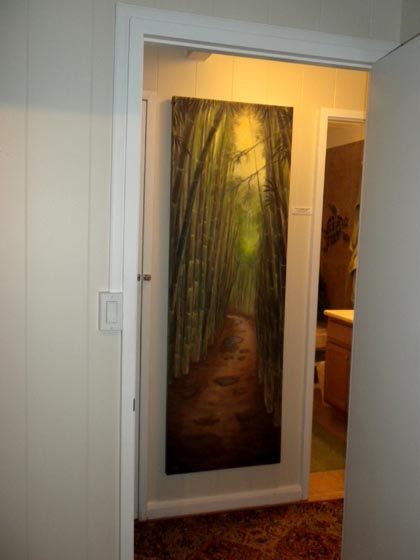
 Often before even doing a mural, the client wants to
see an example of what you're going to create for them. This is my
proposal thumbnail paintings for a hallway leading towards the pool. Often before even doing a mural, the client wants to
see an example of what you're going to create for them. This is my
proposal thumbnail paintings for a hallway leading towards the pool.
|  Thumbnail paintings for the side of a round pool. Thumbnail paintings for the side of a round pool.
| 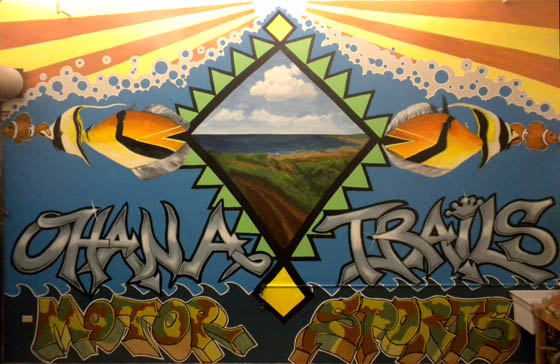 The light rays are taking some time to get them
straight and to the correct colors. I'm also going to tighten up the
green sharks teeth and then re-outline them in black again. The light rays are taking some time to get them
straight and to the correct colors. I'm also going to tighten up the
green sharks teeth and then re-outline them in black again.
|  |
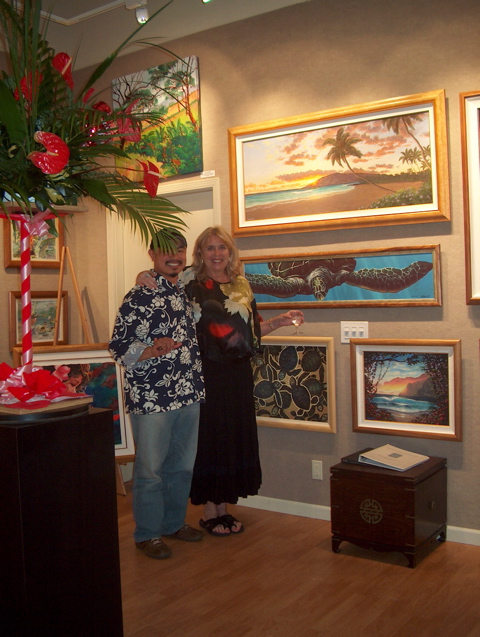
 With fellow artist Janet Stewart and friend. With fellow artist Janet Stewart and friend.
|  With the new owners of the published original "Falling for Love" 36x54. With the new owners of the published original "Falling for Love" 36x54.
|  With "A Friendly Meeting" collector With "A Friendly Meeting" collector
|  |
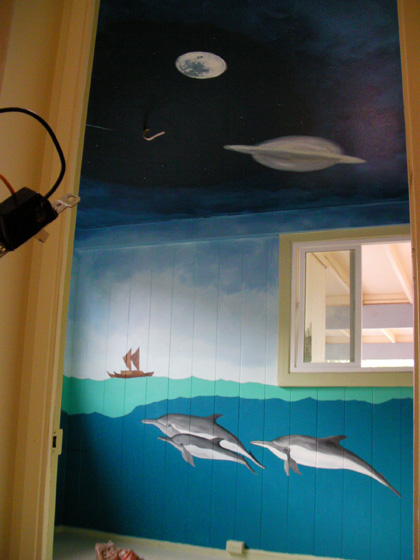 The boys room wall and ceiling. The boys room wall and ceiling.
| 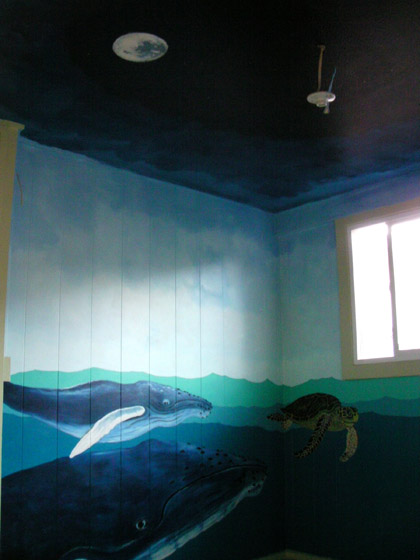 column 2 column 2 | 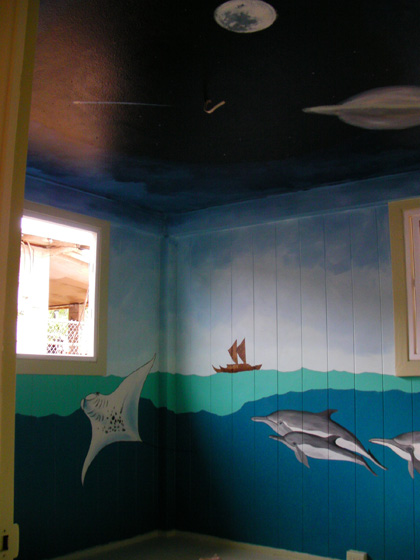 This is the boys room for my friend Tanya. She wanted
an ocean theme with stars and planets on the ceiling. I hate painting
ceilings but I like making people happy so the boys are getting a starry
sky with a planet or two. This is the boys room for my friend Tanya. She wanted
an ocean theme with stars and planets on the ceiling. I hate painting
ceilings but I like making people happy so the boys are getting a starry
sky with a planet or two.
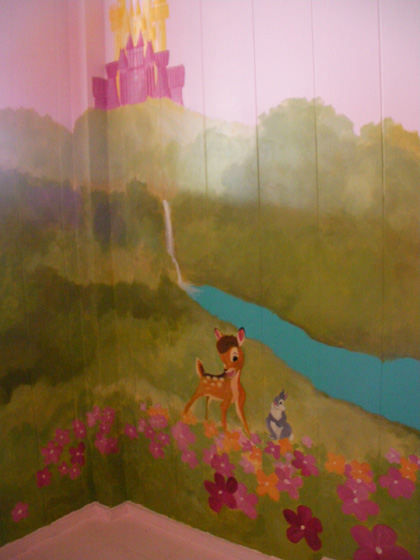
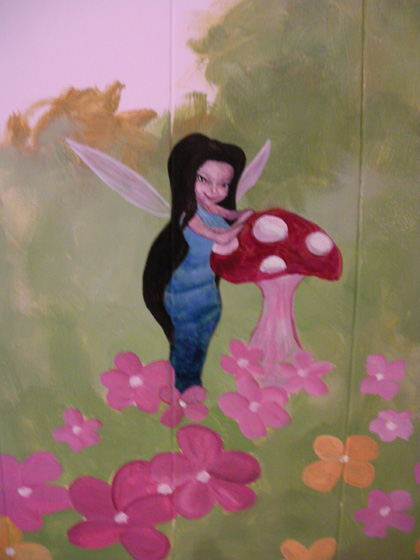
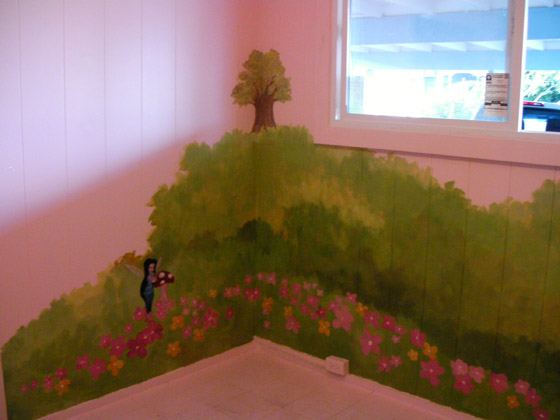
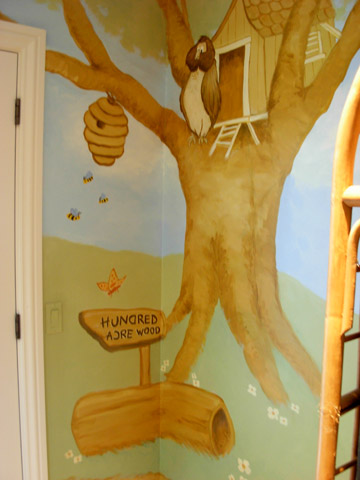
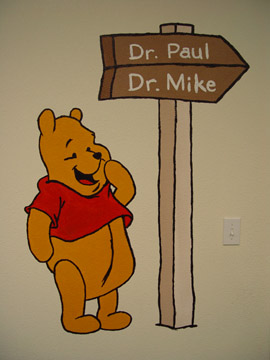
| 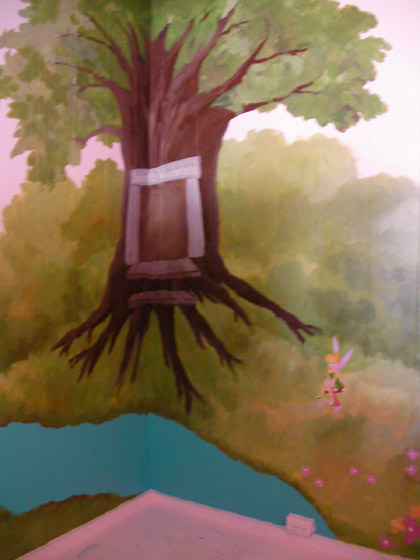 Sairah's Wunderland is the theme to this room. The
tree house is taken from Winnie the Pooh and the white spot on the
bottom right is going to be Tinkerbell. Sairah's Wunderland is the theme to this room. The
tree house is taken from Winnie the Pooh and the white spot on the
bottom right is going to be Tinkerbell.
|
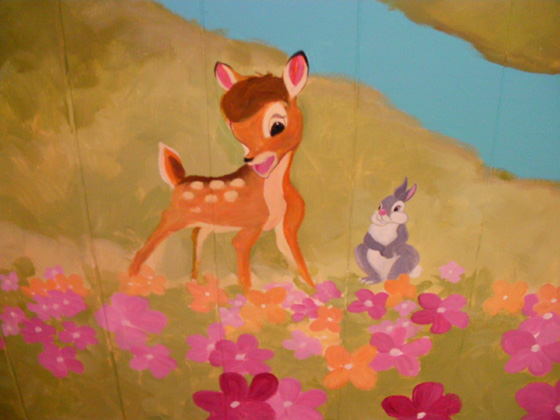 The beginnings of Sairah's room. That's Bambi in the bottom. The beginnings of Sairah's room. That's Bambi in the bottom.
| 
| 
|  |

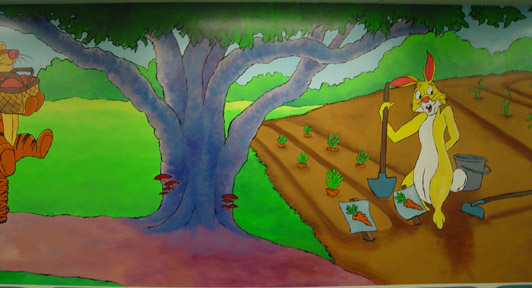
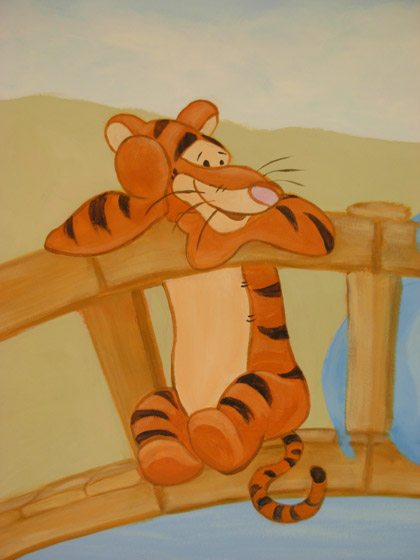 Tigger (close up) in baby Ascher's room Tigger (close up) in baby Ascher's room
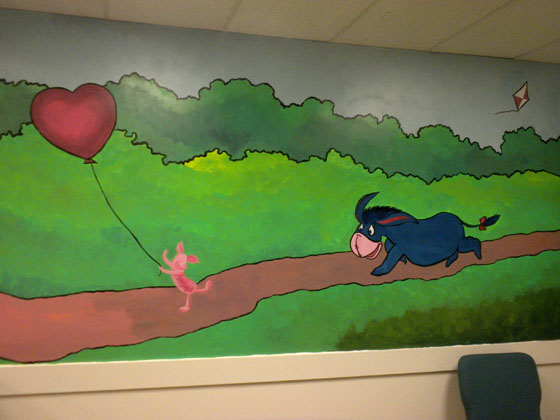
| 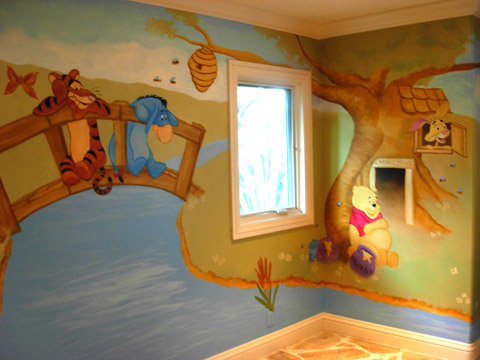 The finished Winnie the Pooh room. Baby Ascher is going to have his crib directly below the bridge where Tigger and Eeyore sit. The finished Winnie the Pooh room. Baby Ascher is going to have his crib directly below the bridge where Tigger and Eeyore sit.
|  Winnie the Pooh room from Rabbit to Owl. Winnie the Pooh room from Rabbit to Owl.
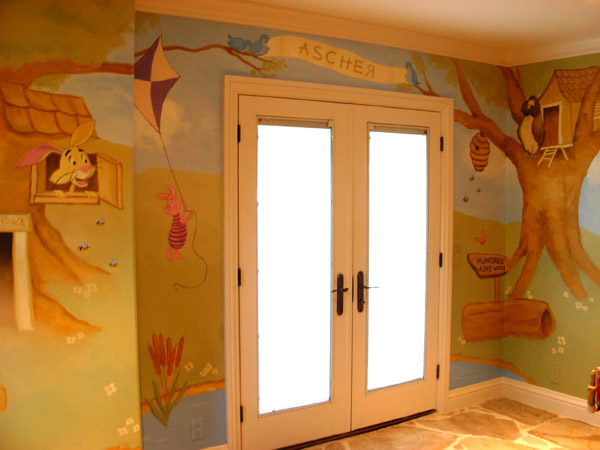
| 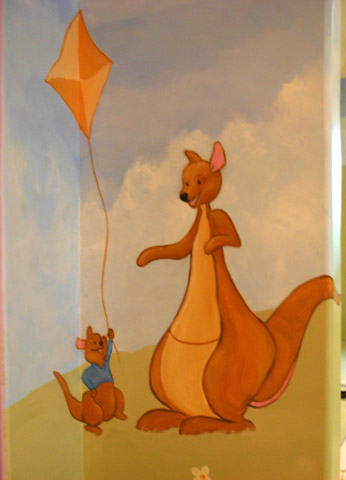 Roo and Kanga on opposite wall of Pooh and Rabbit. Roo and Kanga on opposite wall of Pooh and Rabbit.
|
 Close up of Owl in his tree house. Close up of Owl in his tree house.
| 
| 
|  |
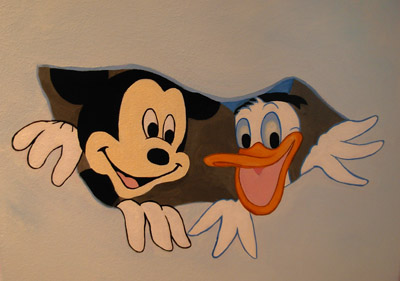 Mickey Mouse and Donald Duck were an extra I stuck
into the Winnie the Pooh room. I made them as if they were pulling the
fabric of reality peeking through trying to get into the Hundred Acres
Woods. Mickey Mouse and Donald Duck were an extra I stuck
into the Winnie the Pooh room. I made them as if they were pulling the
fabric of reality peeking through trying to get into the Hundred Acres
Woods.
| 
| 
|  |
The following pictures show the process of how I paint home accents on walls. I'm also doing wall textures like marbling and sponging and faux finishes.
 This is the ceiling adjacent to the wall that I did
below. It took a while to do and I'm glad it's finally over. Probably
my last ceiling too since I did it without scaffolding and it ended up
hurting my shoulder. This is the ceiling adjacent to the wall that I did
below. It took a while to do and I'm glad it's finally over. Probably
my last ceiling too since I did it without scaffolding and it ended up
hurting my shoulder.
|  This is the beginning of a faux finish that I did in a
dining room wall below the the window sill. It's of a relief that
supposed to look like a carving of stone. I painted the entire room
with a faux stone finish. I'm in the process of doing the top portion
of the wall with a complimenting design. This is the beginning of a faux finish that I did in a
dining room wall below the the window sill. It's of a relief that
supposed to look like a carving of stone. I painted the entire room
with a faux stone finish. I'm in the process of doing the top portion
of the wall with a complimenting design.
|  This is the finish product. The client wanted 2
mermaids and roses in a vase as the detail. I embellished the feather
leaves and border to help create the look. They just put in the
curtains the morning before I finished the wall. I'm still doing the
top part above the box curtains and will post up the finished product
later. This is the finish product. The client wanted 2
mermaids and roses in a vase as the detail. I embellished the feather
leaves and border to help create the look. They just put in the
curtains the morning before I finished the wall. I'm still doing the
top part above the box curtains and will post up the finished product
later.
|  The top design was taken from several actual designs
picked by the owner. Together with the bottom faux finish and the newly
hung curtains, they create a full look of carved stone. The top design was taken from several actual designs
picked by the owner. Together with the bottom faux finish and the newly
hung curtains, they create a full look of carved stone.
|
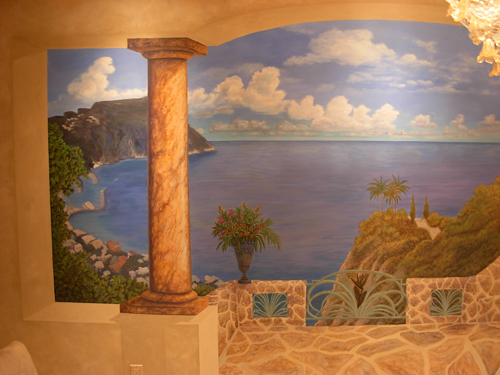 This is my first attempt at a Trompe l'oeil. I didn't
start this piece. Another artist started and didn't finish so I was
commissioned to come and finish it. Originally it had an island out in
the distance but I changed it to the Amalfi coast because that's what
the owners wanted it to feel like. I'm stuck at the moment doing alot
of detail work and it's very slow going. This wall is actually the
adjacent wall to the left of the window sill of the above pictures. This is my first attempt at a Trompe l'oeil. I didn't
start this piece. Another artist started and didn't finish so I was
commissioned to come and finish it. Originally it had an island out in
the distance but I changed it to the Amalfi coast because that's what
the owners wanted it to feel like. I'm stuck at the moment doing alot
of detail work and it's very slow going. This wall is actually the
adjacent wall to the left of the window sill of the above pictures.
| 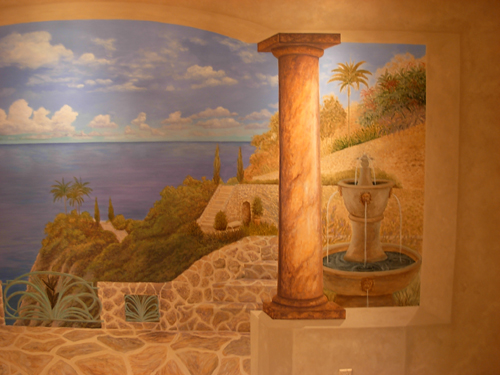 This is the right side of the mural of above. I tried
to leave as much of the original painting as I could. I didn't do the
fountain or the trees on the cliffside and I touched the rock wall very
little. This is the right side of the mural of above. I tried
to leave as much of the original painting as I could. I didn't do the
fountain or the trees on the cliffside and I touched the rock wall very
little.
It took me 2 months to finish this.
|  Pacific Paws logo on wall Pacific Paws logo on wall
|  I didn't paint this but I used it as a model for the font type for the logo on the left I didn't paint this but I used it as a model for the font type for the logo on the left |
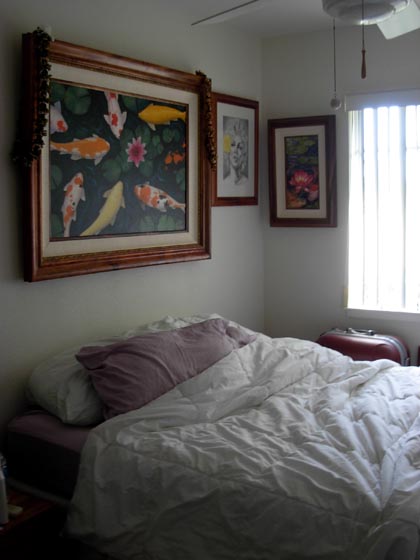
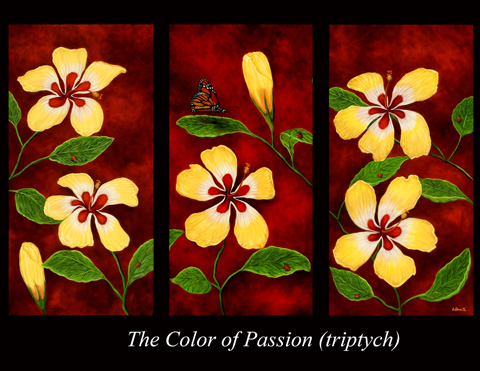
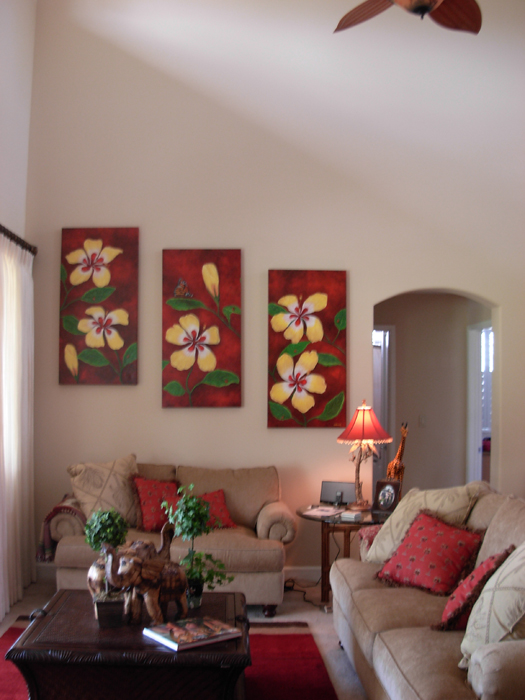 "Color of Passion" (triptych) 48" x 72" Original oil on
gallery wrap canvas. This is my clients' home and how the painting was
hung. The red color is very strong but it brings together the reds
from around the room and makes everything come to life. Detail that
cant be seen has a monarch butterfly in the middle panel and 7 red
ladybugs on various leaves on all 3 panels. "Color of Passion" (triptych) 48" x 72" Original oil on
gallery wrap canvas. This is my clients' home and how the painting was
hung. The red color is very strong but it brings together the reds
from around the room and makes everything come to life. Detail that
cant be seen has a monarch butterfly in the middle panel and 7 red
ladybugs on various leaves on all 3 panels.
It took me 1 month to finish this.
| 
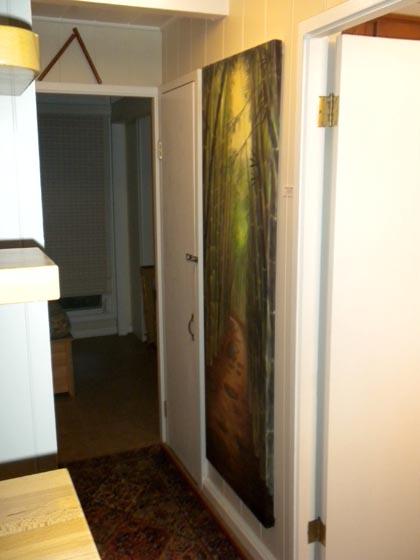
| 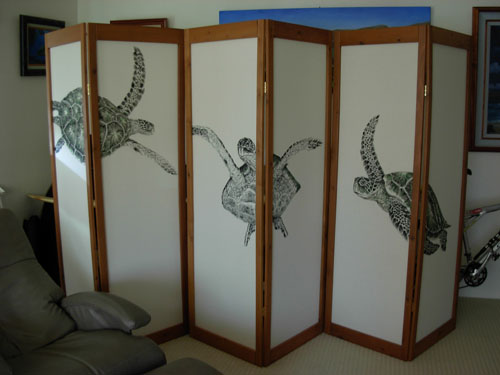 This is my prototype of a Japanese shoji screen. I
went to the Honolulu Academy of Arts and viewed a traditional Japanese
shoji screen exhibit and got inspired to do #3 - 2 panel pieces with
turtles. It hides my surfboard, massage table and mt. bike and makes
the room more inviting and playful. This is my prototype of a Japanese shoji screen. I
went to the Honolulu Academy of Arts and viewed a traditional Japanese
shoji screen exhibit and got inspired to do #3 - 2 panel pieces with
turtles. It hides my surfboard, massage table and mt. bike and makes
the room more inviting and playful.
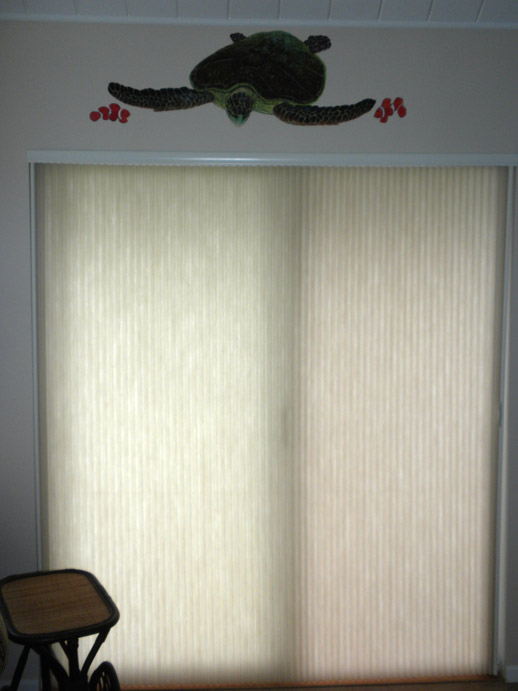
|  This home accent was done in a boys room. This was my first puffer fish. There's another turtle on the ceiling. This home accent was done in a boys room. This was my first puffer fish. There's another turtle on the ceiling. |
 I was asked to paint something on the pillars where the mural is at. They helped make the mural stand out more. If you walk around you can see a palm tree from almost any angle in the room. I was asked to paint something on the pillars where the mural is at. They helped make the mural stand out more. If you walk around you can see a palm tree from almost any angle in the room.
 This is the pillars from another angle. This is the pillars from another angle.
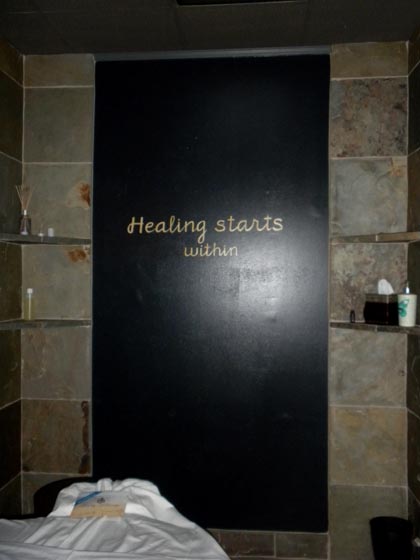
 "Home Accents is my latest thing. Here I add to the tropical theme already in the bathroom by placing a banana tree and monkey in an otherwise plain wall. I painted the monkey at a height where it might look as if the monkey were on one's shoulders if they were looking at the mirror straight up. This is my first monkey that I've painted." "Home Accents is my latest thing. Here I add to the tropical theme already in the bathroom by placing a banana tree and monkey in an otherwise plain wall. I painted the monkey at a height where it might look as if the monkey were on one's shoulders if they were looking at the mirror straight up. This is my first monkey that I've painted."
 Scary SIENNA Scary SIENNA
 Red, White and Blue tribute to Dondi Red, White and Blue tribute to Dondi
 Candy cane bubbles Candy cane bubbles
 Autumn Camouflage Autumn Camouflage
 Rainbow Blocks Rainbow Blocks
 Ribbon Speed Ribbon Speed
Contact: Deenoze@hotmail.com
|